Table of Contents
What’s better than combining watercolor with hand lettering? In this post I share 6 unique ways to pair the two mediums to create beautiful lettering pieces, with watercolor backgrounds, borders, masked watercolor, splatters, and more.
Watercolor + Calligraphy Method 1: Watercolor Splatter
Sometimes I feel like adding a little color to my calligraphy artwork, and here is the first easy tip: watercolor splatter.
This is a simple, yet elegant way to incorporate watercolor into your calligraphy masterpiece.
You can do this method with metallic watercolor, or combine a few of your favorite colors.
Here’s how:
- Pick your color(s) with a wet brush. You can use one color or combine a few colors.
- Tap your brush a few times with two fingers all over your paper.
- Use a hairdryer to dry it faster, or just let it sit for a few minutes.
- Add your beautiful calligraphy on top of it.
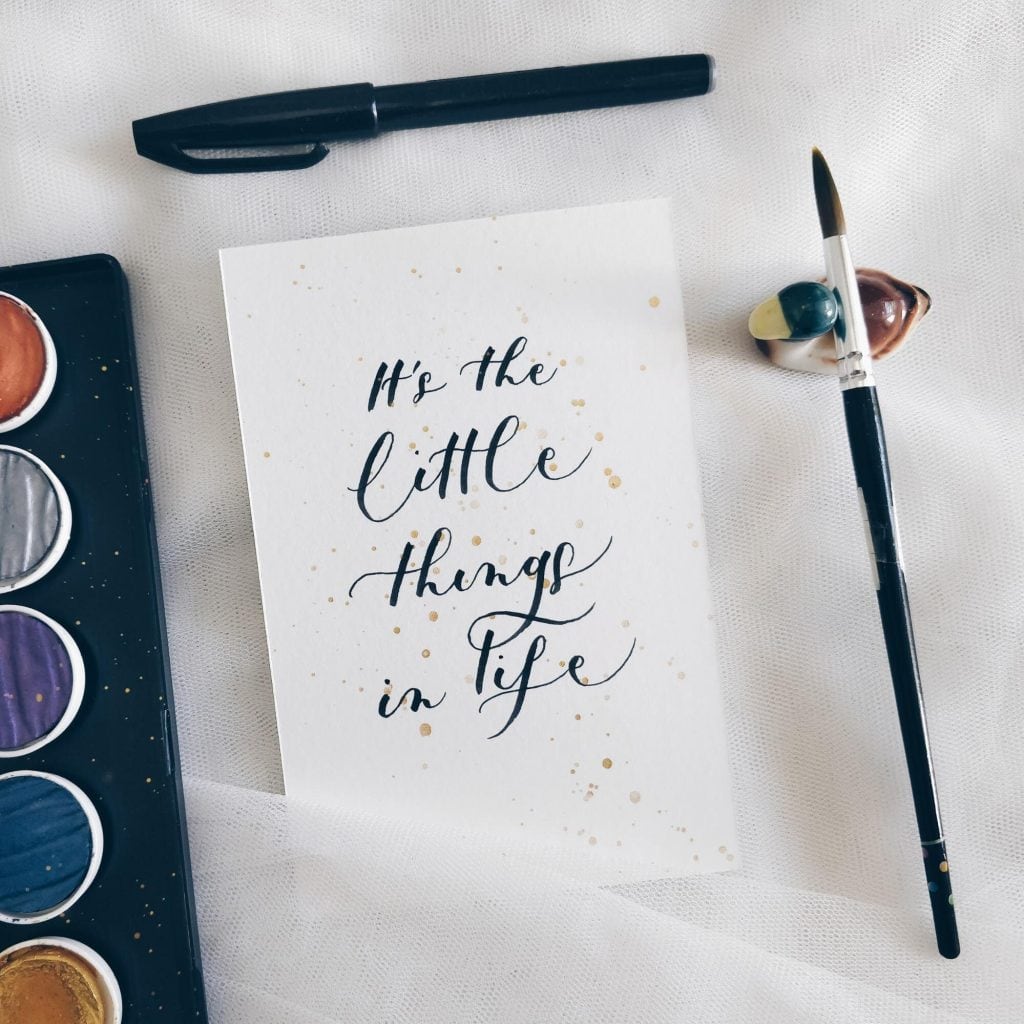
Voila!
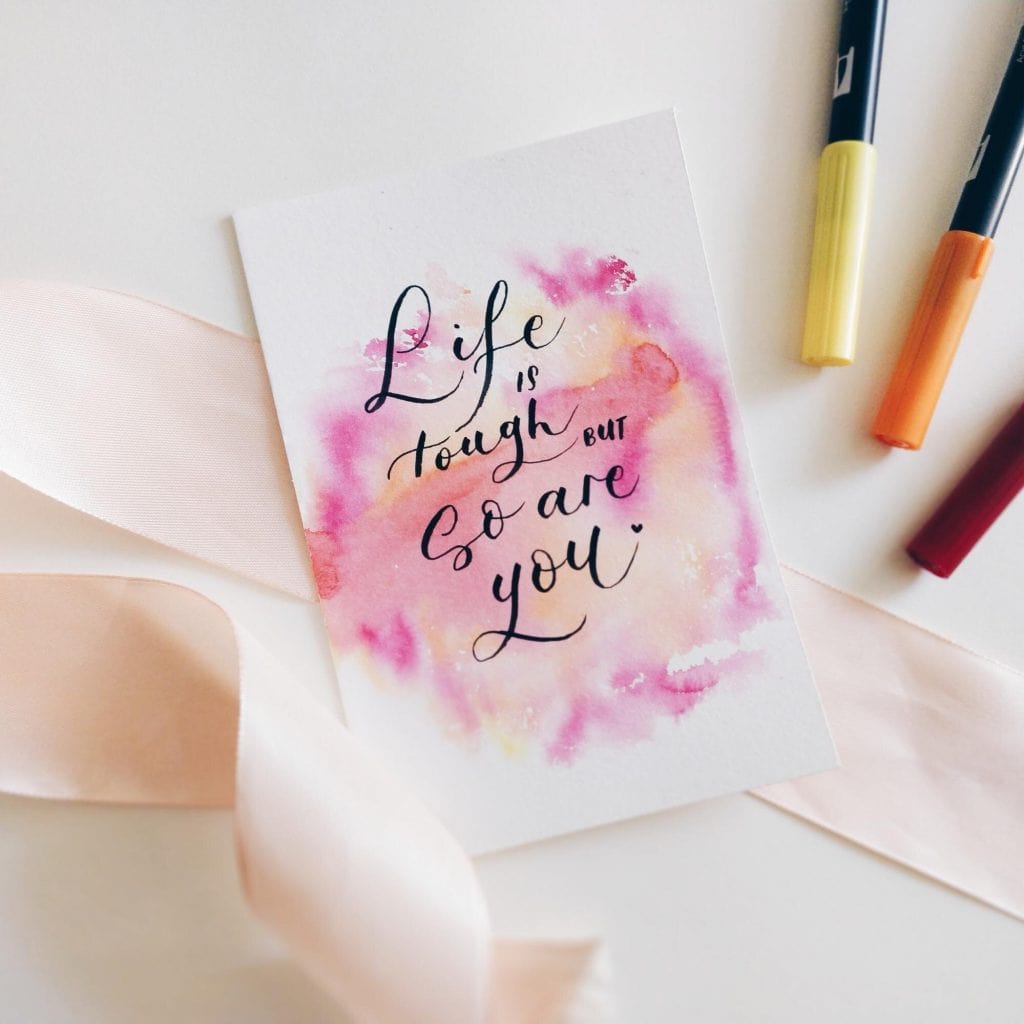
Watercolor + Calligraphy Method 2: Watercolor Splash
There are two ways to create this watercolor splash effect!
The first way is by using a water-based brush pen, Ziploc bag, and spray.
- Lay a Ziploc bag flat.
- Pick 2-3 colors from your brush pens collection, and start draw random lines on the Ziploc bag roughly the size of your paper.
- Spray it a few times with water so the ink is wet and mixes together.
- Gently put your paper on top of the Ziploc bag, then pick it up to see the result.
- Leave it for a few minutes to dry, or use a hairdryer.
- Write your favorite quote on top of it
Isn’t this technique so easy and beautiful?
With the second method, you’ll be able to control the shape of your watercolor splash background. I use a big brush (no. 8 and above) so I can load more water because when it is wet, it is easier for the colors to blend.
Here’s how to achieve this effect:
- Pick 2-3 colors to blend for your watercolor splash.
- Load your brush with water, then pick your first color. Brush it over your paper.
- Repeat with your second and third colors to form a splash shape that you like. Let it touch one another and blend.
- Leave it for a few minutes to dry, or use a hairdryer.
- Write your favorite quote on top of it.
Try both ways—which one is your favorite? There is no right or wrong. Be brave and explore.
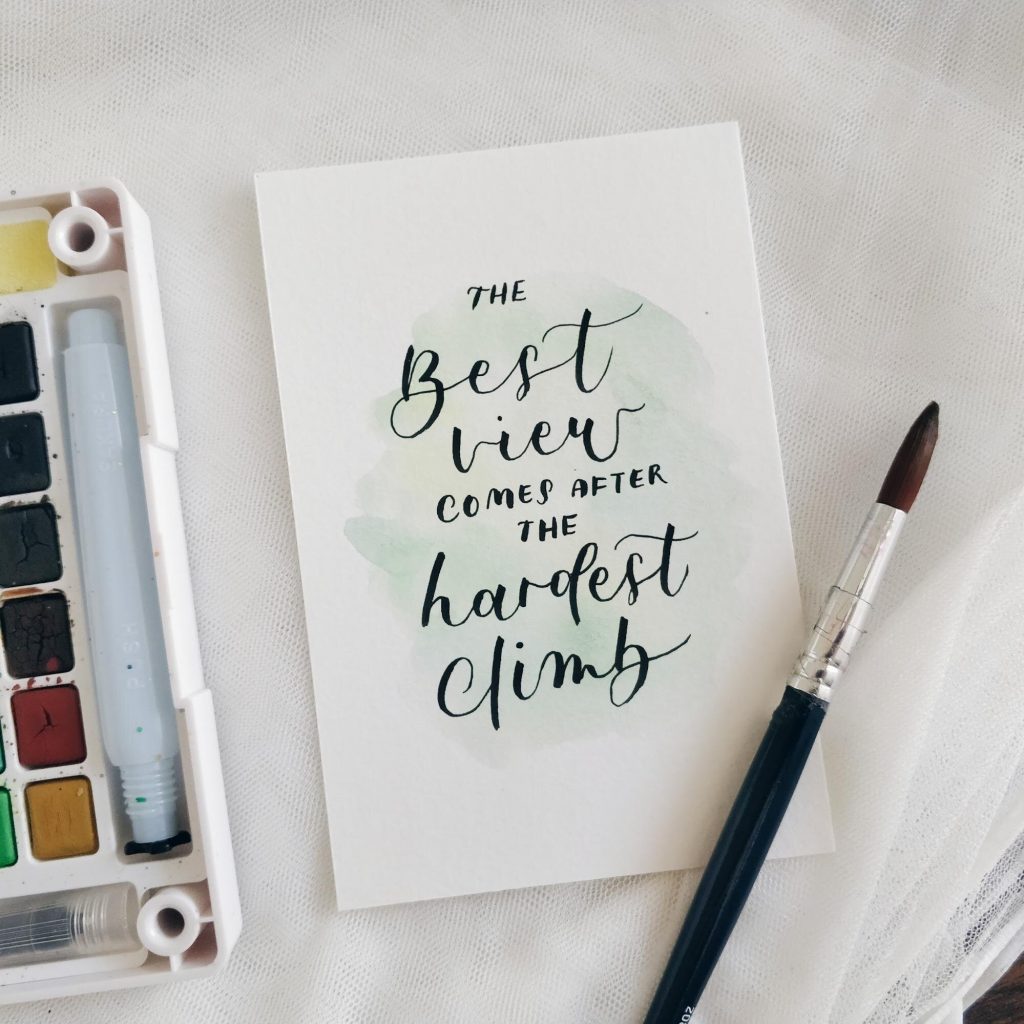
Watercolor + Calligraphy Method 3: A Simple Botanical Background
If you love flowers, leaves, and botanical elements, this method is for you.
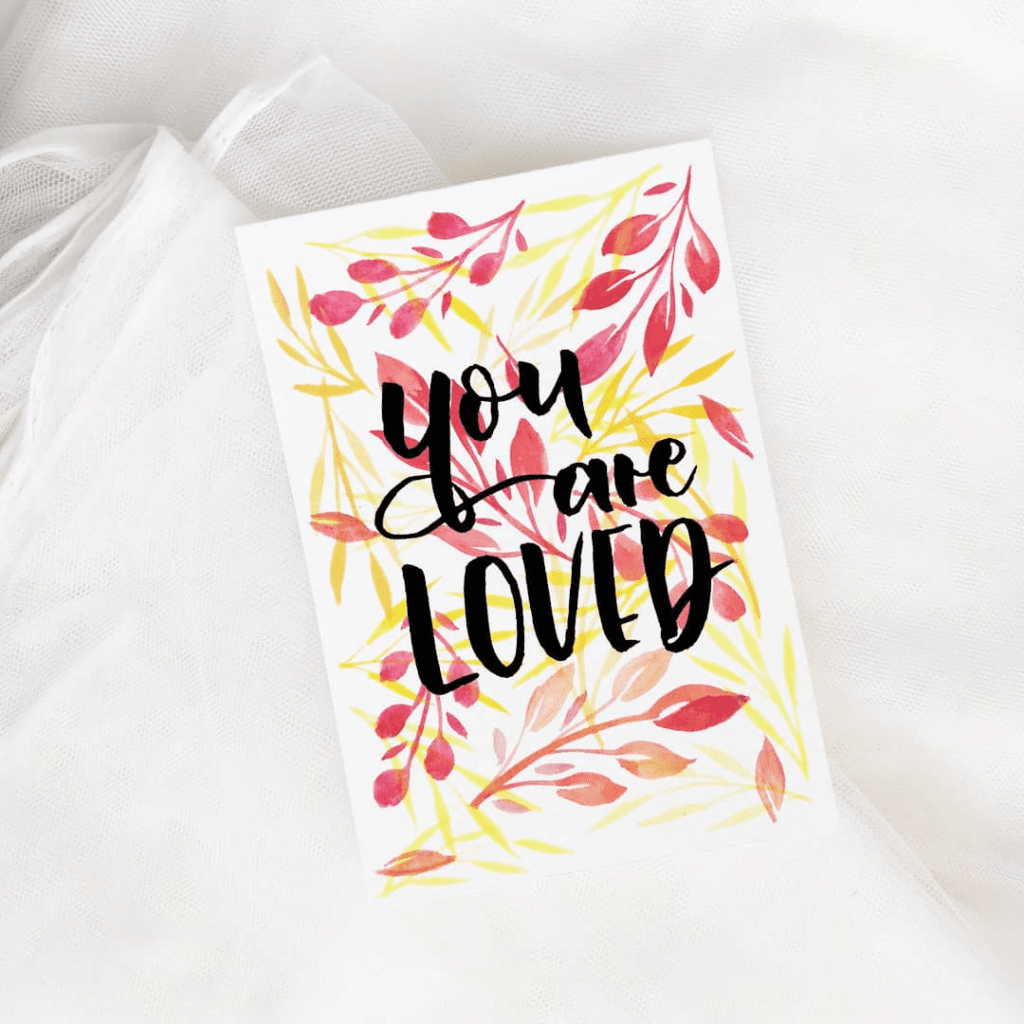
You don’t have to draw all kinds of flowers, because sometimes simple leaves can be more impactful as a background. Let’s go through it step by step!
- Pick 2-3 colors for your leaves. Keep the color minimum and harmonious.
- Draw a few simple leaves starting with the lightest color.
- Once it dries, continue with the darker color. Overlay some leaves to add depth.
- Allow your work to fully dry.
- Add your calligraphy on top of the botanical watercolor background.
That’s it! Experiment with overlay in your watercolor illustration to add some depth and interaction. Let me know if this tip speaks to the green thumb in you.
Watercolor + Calligraphy Method 4: Floral Borders
From simple leaves to colored flowers, this is for you who want to have your calligraphy neatly and beautifully surrounded by botanical watercolor illustrations.
There are a lot of ways to do borders, but here are some of my favorites.
Watercolor Floral Wreath
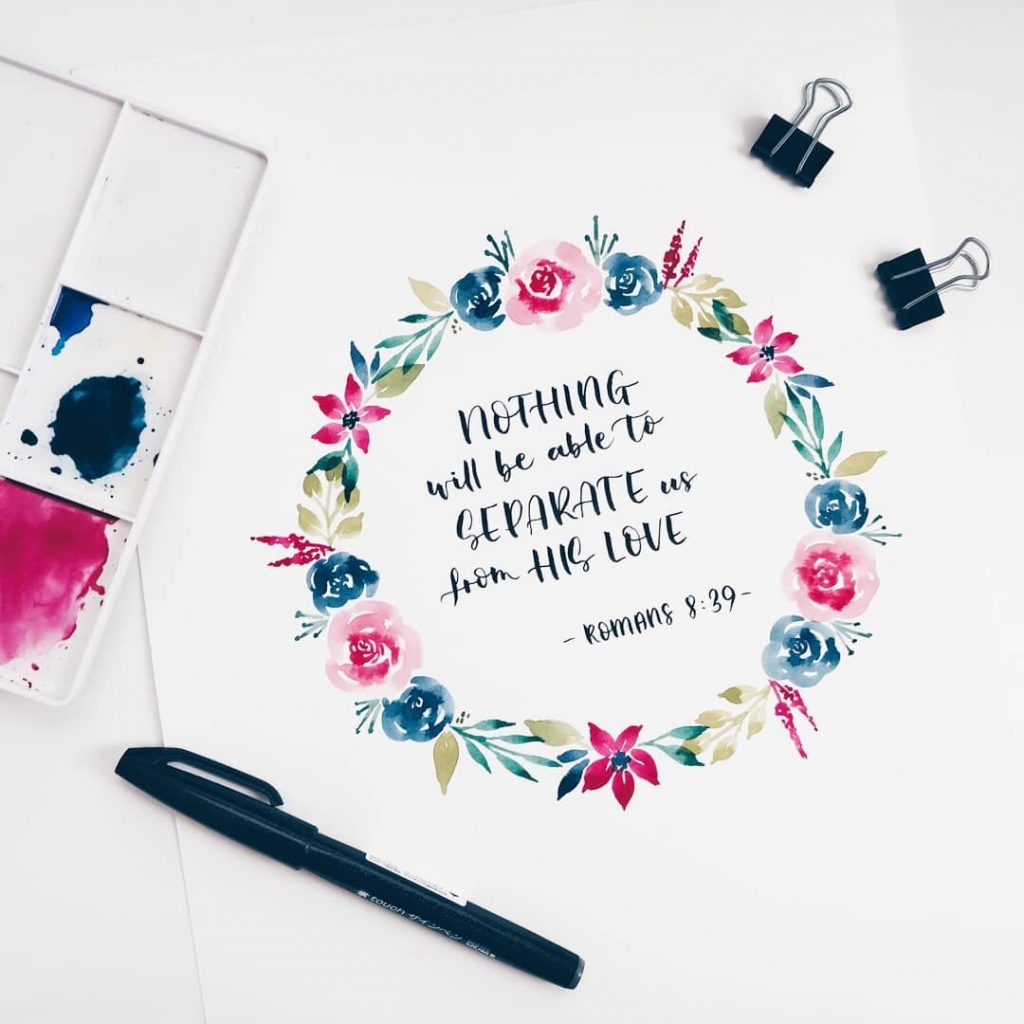
Start by drawing a circle with pencil, then fill it up with your favorite botanical elements.
Quick tip: imagine a triangle in your circle. Draw every element 3 times, on each corner of the imaginary triangle. That way, your composition will be more balanced.
Rectangular Botanical Watercolor Frame
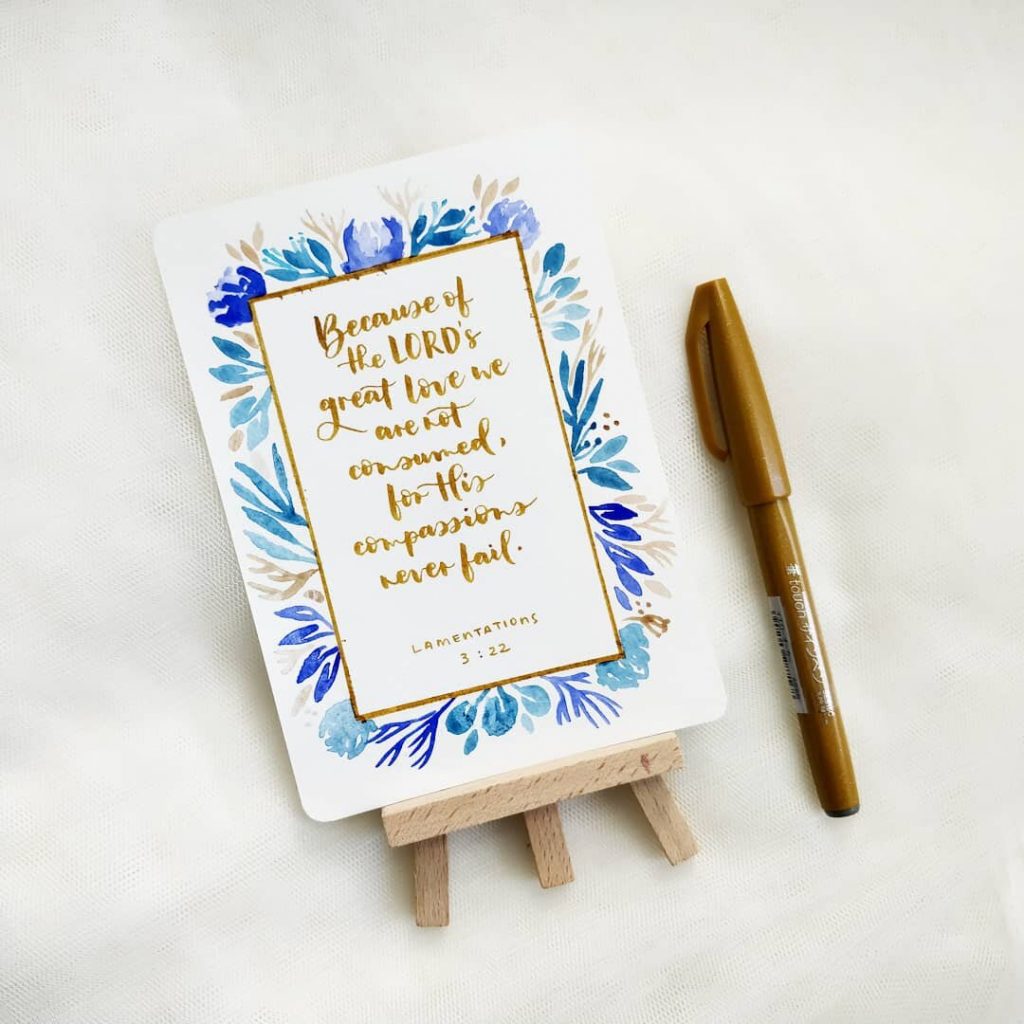
If you love geometric shapes, this is a good option. Draw the rectangle to surround your calligraphy, then add your illustrations around it, as if they are coming out from the back of the rectangle.
Organic Watercolor Leaf Border

For this method, draw your botanical illustrations along all sides of the paper without hard guidelines, then add your calligraphy in the middle.
Accented Floral Watercolor Wreath
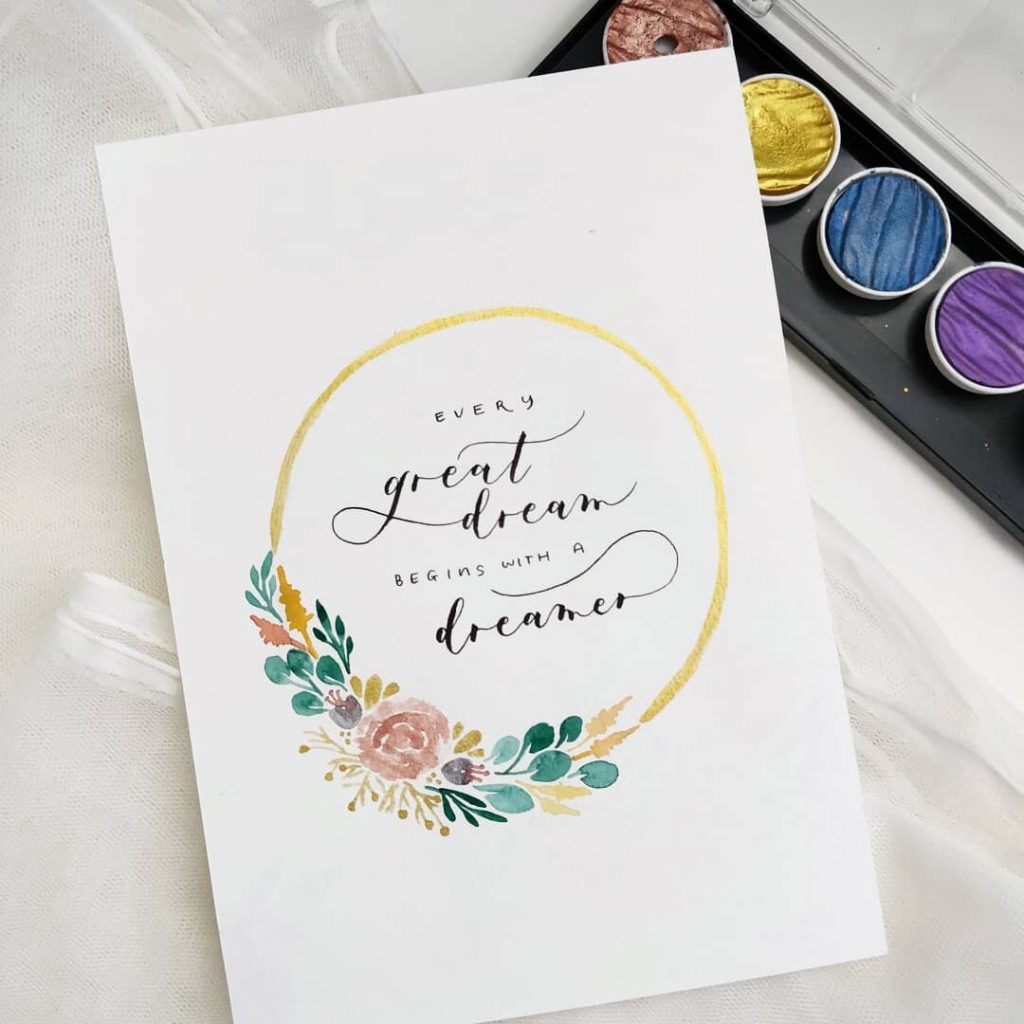
You don’t have to always fill up the circle with flowers. Just put them in one corner, and voila: a fresh look!
Watercolor + Calligraphy Method 5: Masked Watercolor Background
This beautiful method requires time and patience, but once you finish, it’s so satisfying!
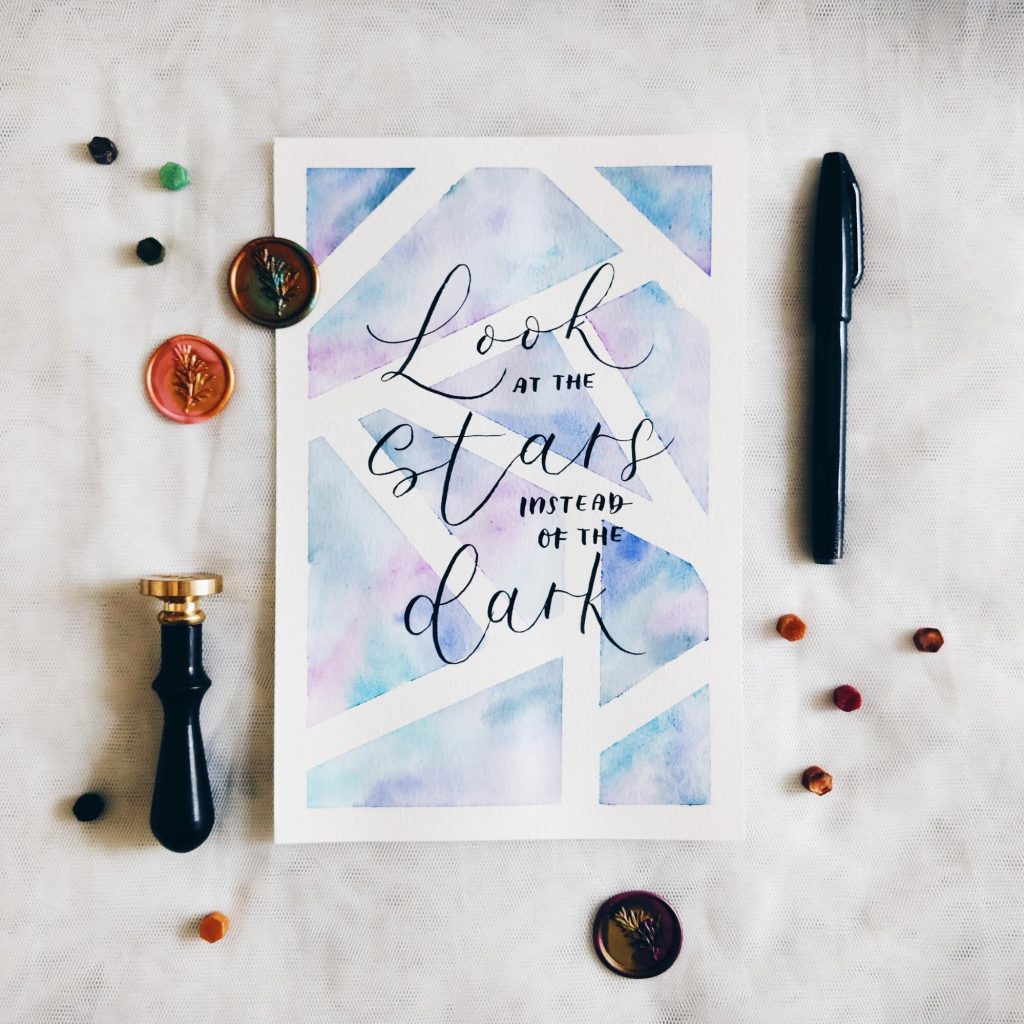
Here’s how to achieve a masked watercolor background with a geometric feel.
You will need washi tape or masking tape for this technique because the tape will need to be peeled off.⠀⠀⠀⠀⠀⠀⠀
- Tape down 4 sides of your paper. This will also create a white border for your artwork.
- Start taping across the middle section to mask some areas. You can do this randomly or along a predetermined grid.
- Fill the empty spaces with your chosen colors. Blend colors together while they’re still wet.
- Once the watercolor dries, carefully peel the tape. (This is the most satisfying part!)
- As usual, hand letter your favorite saying on top of it.
The masking process takes some time, but the peeling process and result are worth it. Just be patient and creative. You got this!
Watercolor + Calligraphy Method 6: Watercolor Calligraphy
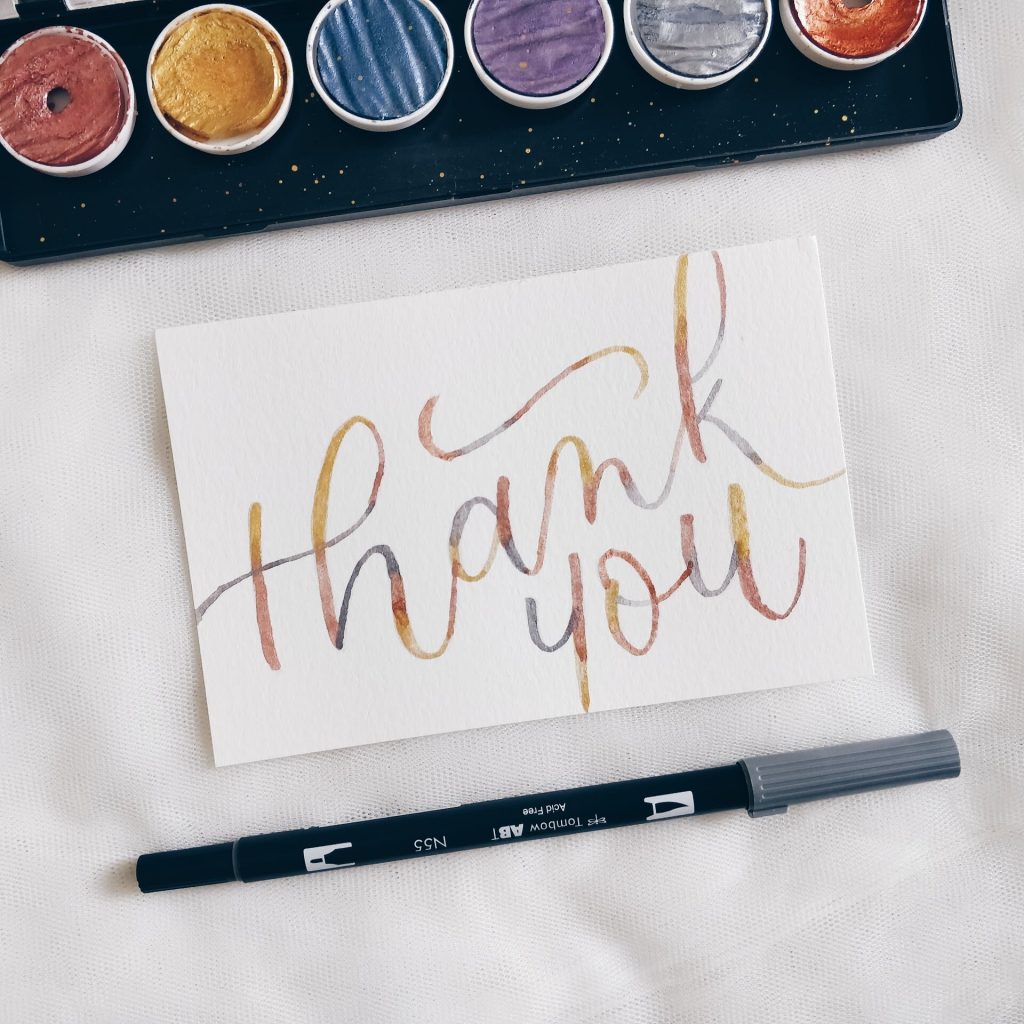
Lettering with an actual watercolor brush is more challenging than simply using a brush pen. Here is a method to make the process easier!
- Write your word using a light, neutral color brush pen such as light gray, as a guide.
- Color over the lettering guide with your favorite colors. Feel free to blend a few colors to make it more lively.
Thank you for reading through my tips on how to combine watercolor and calligraphy. Try one or all of these methods and let us know what your favorite is in the comments.
If you’d like to explore watercolor effects digitally, Artixty carries a beautiful Watercolor Assets Bundle with textures, overlays, and elements ideal for creating painted backgrounds for your calligraphy designs. Their 16-in-1 Watercolor Painting Photoshop Actions let you apply authentic watercolor effects to your compositions in seconds.
Related Reading: Love combining ink with water-based media? Improved Drawing’s guide to pen and ink with watercolor wash techniques covers the full process of layering washes over ink drawings for rich, painterly results.
Rod
I know this web site provides quality depending articles or reviews and other information, is there any other site which provides these kinds of information in quality?