Table of Contents
I’m doing something a little different today and sharing how I record and edit videos for Instagram and YouTube. I’ve gotten a few requests and wanted to show you my setup in case it would help you record fine art videos for your Instagram, YouTube, Facebook Lives, or more.
The Equipment I Use for Top-Down Art Demo Video Recording
- Camera: all of the older videos on YouTube were recorded with an iPhone 6S, and now I’m using my iPhone 12.
- Audio: Apple EarPods or Apple AirPods.
- iPhone holder: Lazy Arm iPhone desk mount
- Lighting: Selfie Ring Light (see note above!) and light stand (if needed)
- Video Editing Software: ScreenFlow (Mac only)
- Audio Recording: Voice Memos (native to iPhones)
Check out the video at the bottom for a demo of the tripod and an overview of my setup; otherwise all of the important info is below!
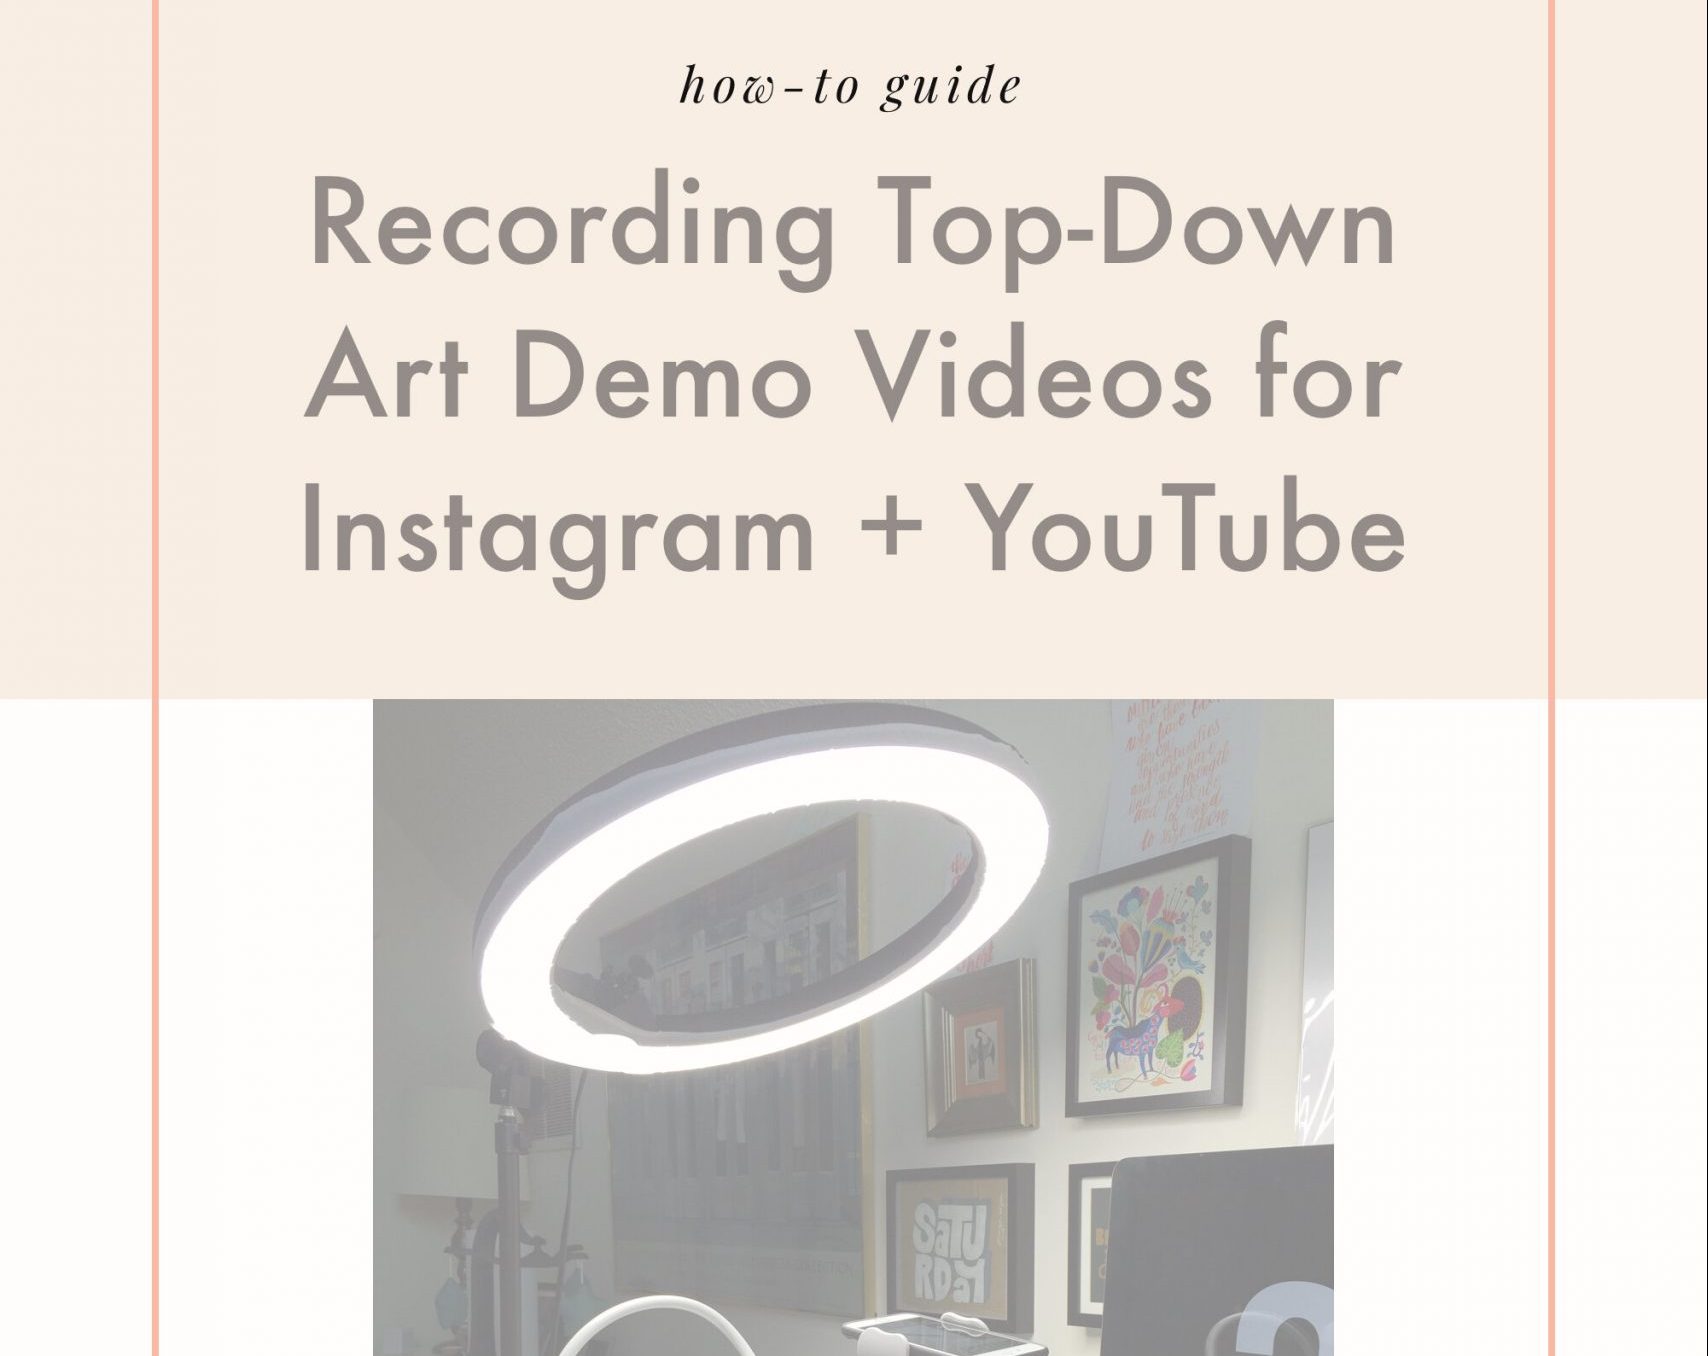
My office is different from this one shown, but the video setup is the same!
Video and Lighting Equipment I Use for Art Demo Videos
The Camera
When I originally wrote this post, I recorded all video with my iPhone 6S’s camera (now I use my iPhone 12 whenever I record video).
When I started recording demo videos for my first Skillshare class, I was using my iPhone 5S. You certainly don’t need to go out and get a fancy camera or camcorder; just keep in mind that if you are going to use your iPhone or smartphone, make sure to use the rear-facing camera and not the front-facing camera. The quality will be a lot higher.
iPhone Holder / Tripod
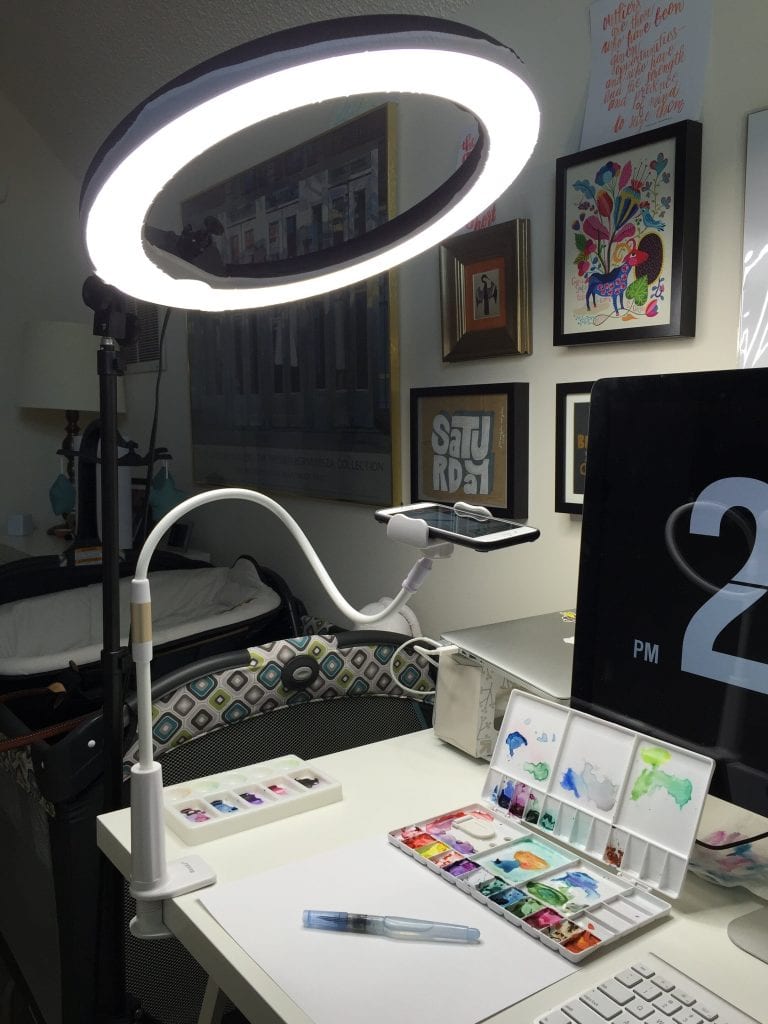
For my “tripod”: I use a Lazy Arm iPhone desk mount which is the biggest game-changer. The bendable arm is strong but pliable and doesn’t jiggle around or slide out of place. I have it clamped to the edge of my desk and I can easily just stretch the mount and plop my iPhone in there to record.
Video Lighting
For video lighting, I use a Selfie Ring Light on its brightest setting and mount it to a light stand.
I originally purchased the Diva Ring Light as a portable light for talking-head videos, but I find I use the light often as a daylighting lamp to work on art when it’s dark outside, as well as to help me record brighter videos.
The whole system folds away pretty easily, which is good news for multipurpose spaces. (IE: My “office” is in my kids’ room right now….)
Important note: The Diva Ring Light link above doesn’t have the same bendable head mount like the one I use. There have been a few people that have an issue with this, so please do your research before purchasing!
Audio Microphone
When I record videos, I’ve used my in-box Apple EarPods to record audio. I now use my Apple AirPods. Plain and simple; no fancy microphone or lavalier lapel mic needed.
Recording Audio
If I have any videos that require audio-only, such as when I’m recording a voiceover for a slideshow or a demo, I will simply use Voice Memos on my iPhone with the Apple AirPods. The quality comes out surprisingly great!
Editing iPhone Videos for Instagram and YouTube
When I’m ready to edit my videos, I import the raw footage to my MacBook using AirDrop. (I’m too impatient to let it sync with Photos.)
Next, I’ll create a new document in ScreenFlow (Mac only).
Instagram Videos
Since in-feed Instagram videos can only be 15 seconds long, I usually need to speed up the video so it fits within the time allotted.
I know there are apps I can use on my phone, but I like the control I get from editing it on my computer. (That said—if you’re using any must-have video editing apps for Instagram, leave a comment below to help me out!)
Here’s my process for editing in-feed Instagram videos:
- Create a new document in ScreenFlow that is 1080px square.
- Drop the footage into the document and right-click to detach the audio.
- Delete the audio entirely from the project.
- Slice the video so it has a clean beginning and end. Delete the trimmings.
- Finally, speed up the video by double-clicking on the segment and increasing the speed until the remaining clip is at 15 seconds.
- Export the video with H.264 video encoding at 3,000 kbits/sec.
- Share back to my iPhone with AirDrop and post to IG.
How to Edit Videos for YouTube
YouTube videos are pretty similar to the above instructions. I create the document in ScreenFlow to be 1920px by 1080px, and then export the video with H.264 video encoding at 5,000 kbits/sec, and AAC audio encoding at 256 kbits/sec.
I also do a ton of other splicing and editing with YouTube videos, playing with B-roll footage, intro music, and outro branding.
Click to Read Video Transcript
TL;DR? Art Demo Video Recording Resources
Long story short, here’s what I use for art demo videos:
- Camera: all of the older videos on YouTube were recorded with an iPhone 6S, and now I’m using my iPhone 12.
- Audio: Apple EarPods or Apple AirPods.
- iPhone holder: Lazy Arm iPhone desk mount
- Lighting: Selfie Ring Light (see note above!) and light stand
- Video Editing Software: ScreenFlow (Mac only)
- Audio Recording: Voice Memos (native to iPhones)
I hope you found this post helpful! I am by no means a video expert, but these are the settings I’ve researched that work best for me. If you have video recording tips to share, please comment below!
31 Comments
-
-
You're very welcome, Susan!
-
-
Wow. You make it so clear. This is exactly what I needed to encourage me to make a video!
-
That's so exciting to hear, Grammye! So glad this post and setup was helpful.
-
-
This is awesome! Thank you for the tips.
-
You're very welcome!
-
-
Sandrine
Thank you! clear & efficient...and also encouraging!
-
You're very welcome, Sandrine! Glad this information was helpful to you :)
-
-
Tracy
Is there a cheaper ring light? Or do you get what you pay for?
-
Appreciation to my father who stated to me concerning this webpage, this weblog is really awesome.
-
That is really fascinating, You're a very skilled blogger. I have joined your rss feed and look forward to searching for extra of your great post. Additionally, I've shared your web site in my social networks
-
Quality content is the main to invite the viewers to pay a quick visit the site, that's what this site is providing.
-
You actually make it seem so easy with your presentation however I find this topic to be really one thing that I believe I might by no means understand. It sort of feels too complex and extremely huge for me. I am taking a look ahead in your subsequent submit, I'll attempt to get the grasp of it!
-
Everything posted made a ton of sense. However, what about this? suppose you composed a catchier post title? I mean, I don't wish to tell you how to run your website, but what if you added a title that grabbed folk's attention? I mean How to Record Top-Down Art Demo Videos for Instagram and YouTube - Lettering League is a little boring. You should glance at Yahoo's home page and note how they write post headlines to grab people to click. You might try adding a video or a related picture or two to grab readers excited about everything've written. In my opinion, it might bring your posts a little livelier.
-
Glad to be one of many visitants on this amazing site : D.
-
Great tips on how to record top-down art demo videos! I'll definitely keep these in mind when creating my next video. Thanks for sharing!
-
Thanks for building this great article without questions is very useful
-
Hello, everything is going perfectly here and ofcourse every one is sharing information, that's genuinely good, keep up writing.
-
Can you tell us more about this? I’d love to find out some additional information.
-
I am extremely impressed with your writing skills and also with the layout on your blog. Is this a paid theme or did you customize it yourself? Either way keep up the nice quality writing, it’s rare to see a great blog like this one today..
-
Good day! I could have sworn I’ve been to this blog before but after reading through some of the post I realized it’s new to me. Nonetheless, I’m definitely glad I found it and I’ll be bookmarking and checking back often!
-
Not to be in the understand most of the time, I tend to dont like posts concerning this subject increasingly additional however since you write it in vogue conjointly your own approach, we tend to gotta say actually is truly one of these nice post to remember.
-
very good post, i certainly adore this site, persist with it
-
Thanks for this wicked post. I am wondering if you were thining of publishing similar posts to this. .Keep up the excellent posts!
-
I love your blog.. very nice colors & theme. Did you make this website yourself or did you hire someone to do it for you? Plz reply as I'm looking to design my own blog and would like to know where u got this from. kudos
-
Thank you, Helpful information!
-
I blog often and I really thank you for your content. The article has really peaked my interest. I will bookmark your site and keep checking for new details about once a week. I subscribed to your Feed too.
-
I'm so glad I found this article! I've been wanting to create top-down art demo videos for my Instagram and YouTube channels, but wasn't sure where to start. The tips and tricks shared in this post are incredibly helpful, especially the part about using a consistent point of view. Can't wait to try them out and create some amazing top-down art videos!
-
Wonderful, what a webpage it is! This blog presents helpful information to us, keep it up.
-
Hey very interesting blog!
-
Excellent post. I'm dealing with a few of these issues as well..
Susan
Thanks~! Your post was extremely helpful and easy to understand!